One attractive feature of Python is the simplicity, speed, and flexibility in creating applications with a graphical user interface (GUI). This advantage is associated not only with a large number of supported graphic libraries: Tkinter, PyQt, PyGTK, wxPython, Pygames, etc. The main reason is the interpretive nature of the Python platform; because of the availability of Python code, the appearance of the graphical application can always be changed or supplemented. And the entire interface from the Python code to the actual implementation of the GUI is hidden inside the Python library modules. Check out our Python GUI example to know about more advantages of developing GUI applications in Python.
The Python GUI sample presented below was developed by an expert in programming. You will complete your own task much faster if you read through our example and get some ideas from it. Because of the ease of demonstrating the problem and its solution, any student can understand the example. Or you can ask for assignment help online and rest assured in the results.
The sample is available for you now, so enjoy reading!
Python GUI Task Example
When starting programming in Python and having output in the console, everything is easy and pretty much the same as in any programming language. This is the moment when Graphical User Interface comes into play. It is more interesting to build applications when they have an appropriate interface.
So this guide will discuss how to add GUI to the application in Python using the standard GUI library Tkinter.
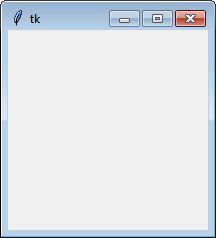
The basic code shown below creates an empty window.
from tkinter import *
top = Tk()
top.mainloop()
Generally, Tkinter library consists of multiple widgets of various types that together with available functions and methods allow the desired graphical user interface to be developed. So, let’s add a label and button to the window.
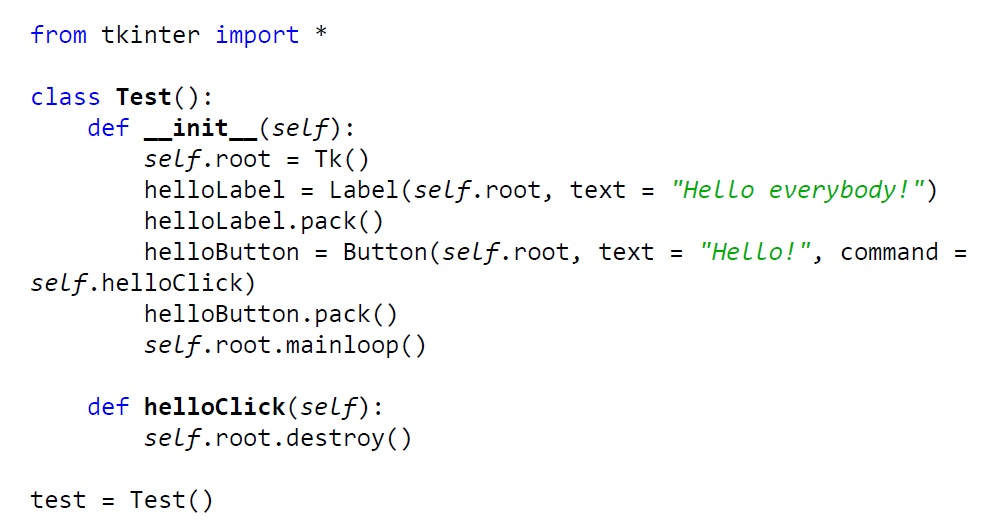
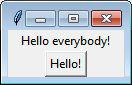
The code shown above lets the button ‘Hello!’ close the window when it is clicked. The structure of code has changed because class has better implementation and organization.
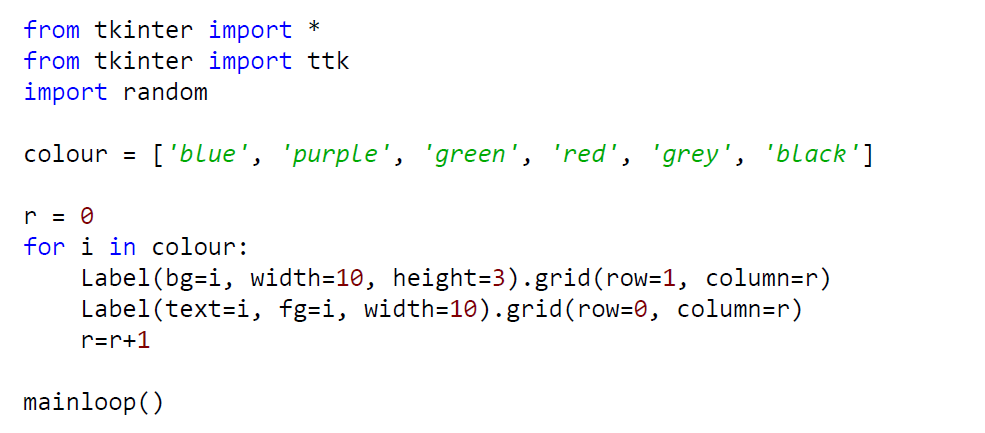
Besides various widgets, Tkinter contains different methods of organizing the layout for those elements. So, there are three classes: grid, pack, and place. Grid is the geometry of a two-dimensional grid layout. Pack manager allows to create a layout by packing different elements as blocks. Previous examples used pack method to form the layout of widgets. Place geometry provides the ability to locate elements at a specific position. The most widely used is grid. So, the next example shows its usage.
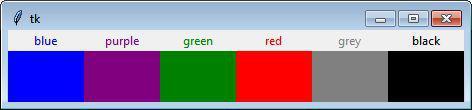
Place method requires you to define the location of any element in the window. So, let’s look at how the window above can be created using place function.
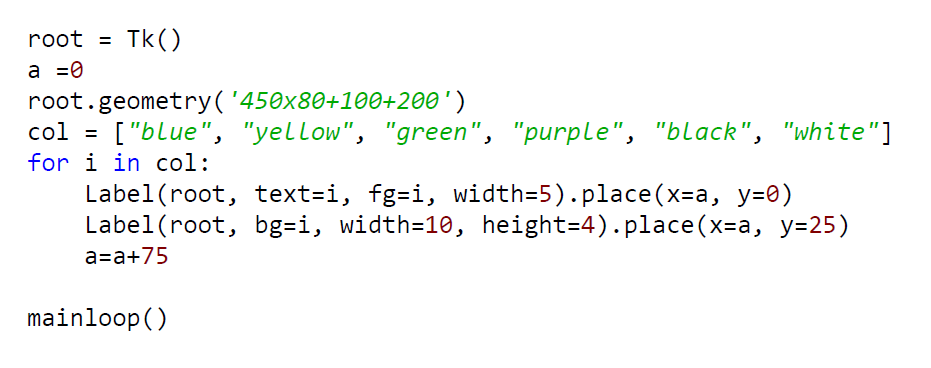
As you can see, the window size is also necessary to define. So, this method requires more actions to be performed manually.
Different layout managers have been discussed, so now is the time for adding functionality to different widgets.
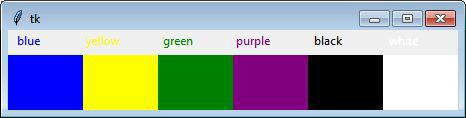
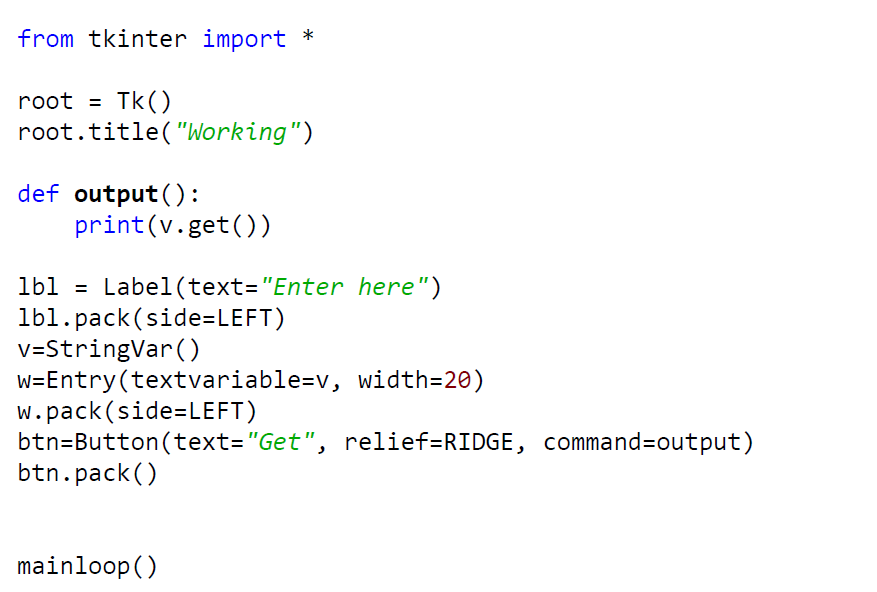
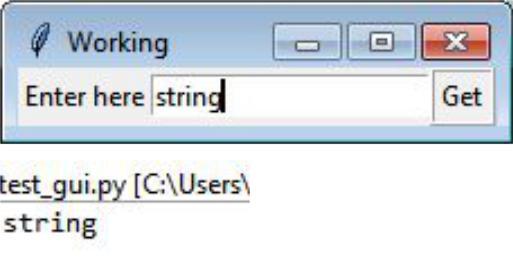
The program below outputs entered string to the console after clicking the button ‘Get’. Also, the button here has the property relief set to RIDGE, which changes the form of the button.
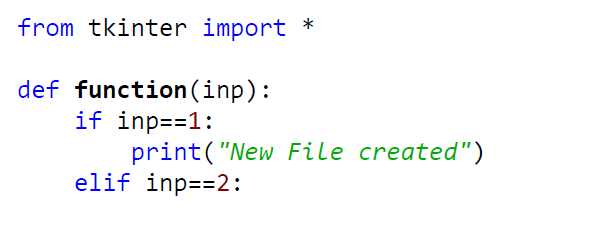
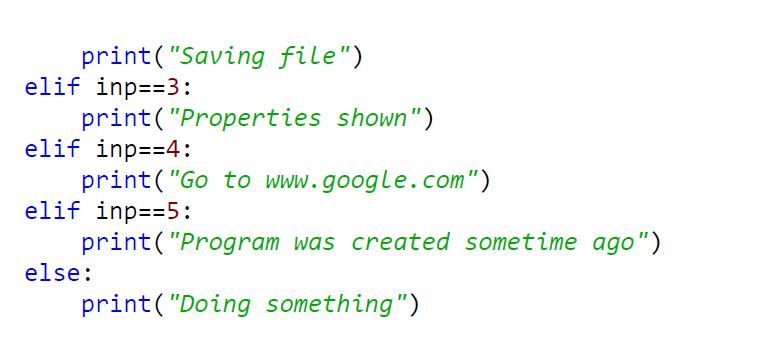
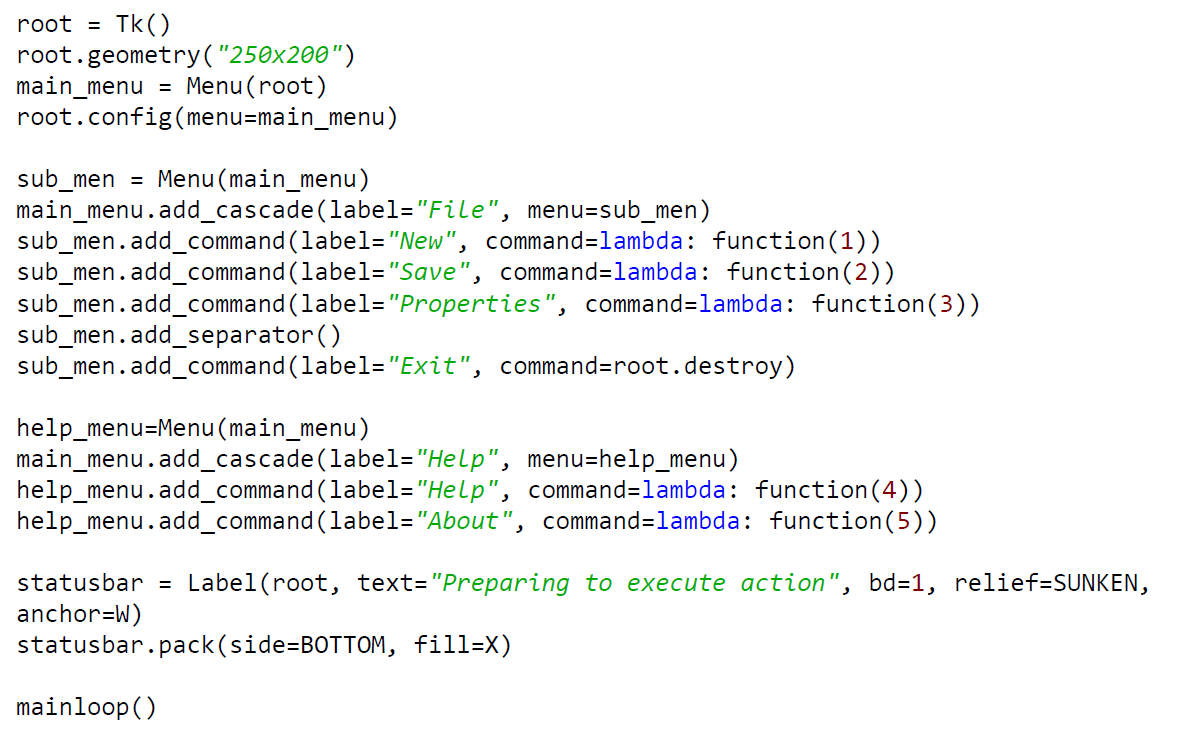
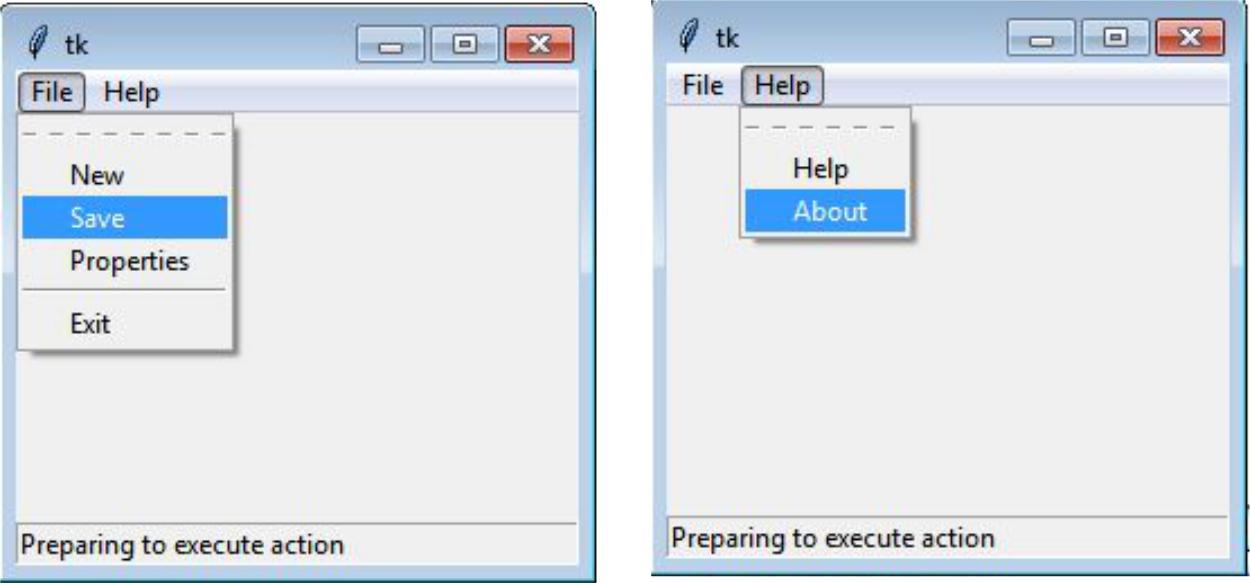
Since this is the basic tutorial of GUI in Python, no huge program is implemented here. Let’s implement the menu with several tabs showing different information upon clicking various options as a final small program.
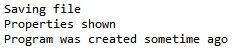
Console output:
As you can see, the menu tab has a sub menu in itself, and when clicking on any option the corresponding output appears in the console. Also, the status bar at the bottom of the window simply shows the approximate status of the program.